So far when doing Manhattan construction I’ve tended to have a general idea of where everything will go (much simplified thanks to the build documents on this project), I then start in one place and stick and solder as I go. This method has had the advantage of ensuring that in general pads are no closer/further apart than they should be and leads to a very neat layout assuming I don’t get the board size wrong.
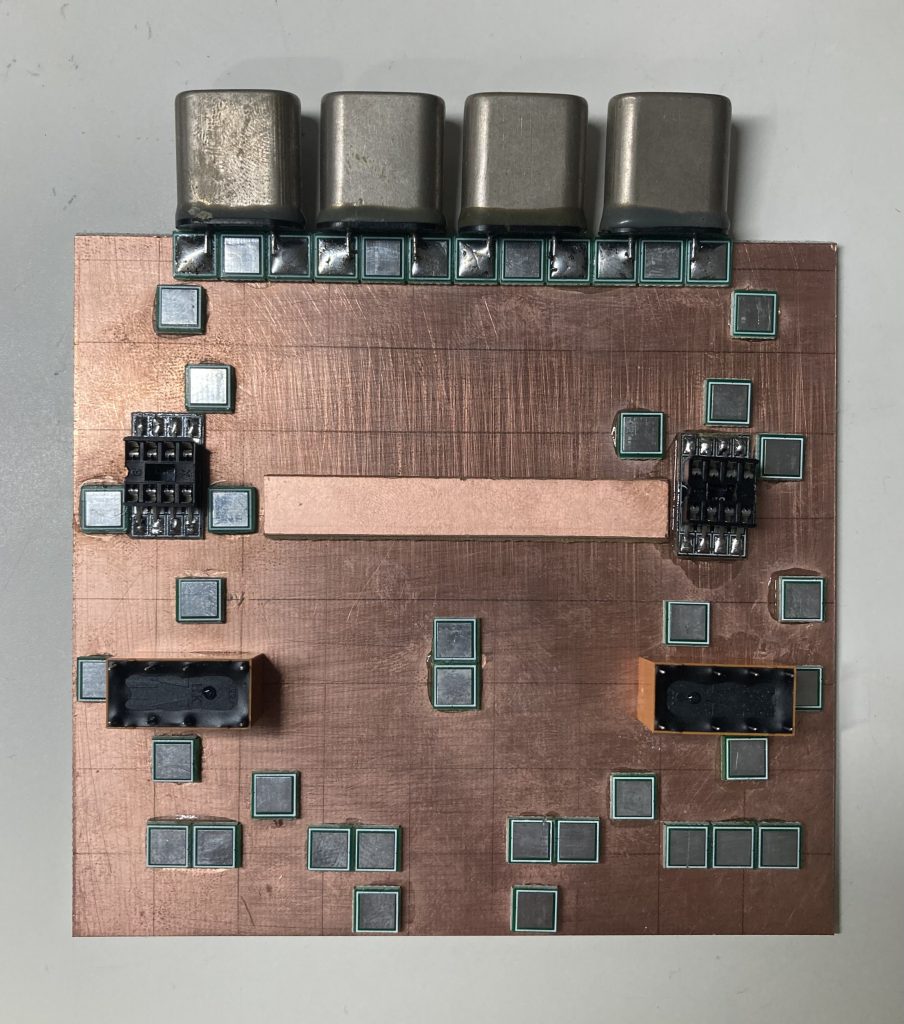
For this module with it being larger and more complicated than the previous ones the “stick and go” method didn’t really seen viable, particularly as I couldn’t really start at one point and build across from there. This being the case using the layout and photos from the build document I’ve pre-stuck all the Manhattan pads and the relays and soldered the IC sockets into place. Next step will be to finally start the build!