On the 21st of April it was the 2024 NARSA rally.
This was the second year of the new approach to the rally with the focus more on clubs and how they have been doing, and how they are furthering the hobby.
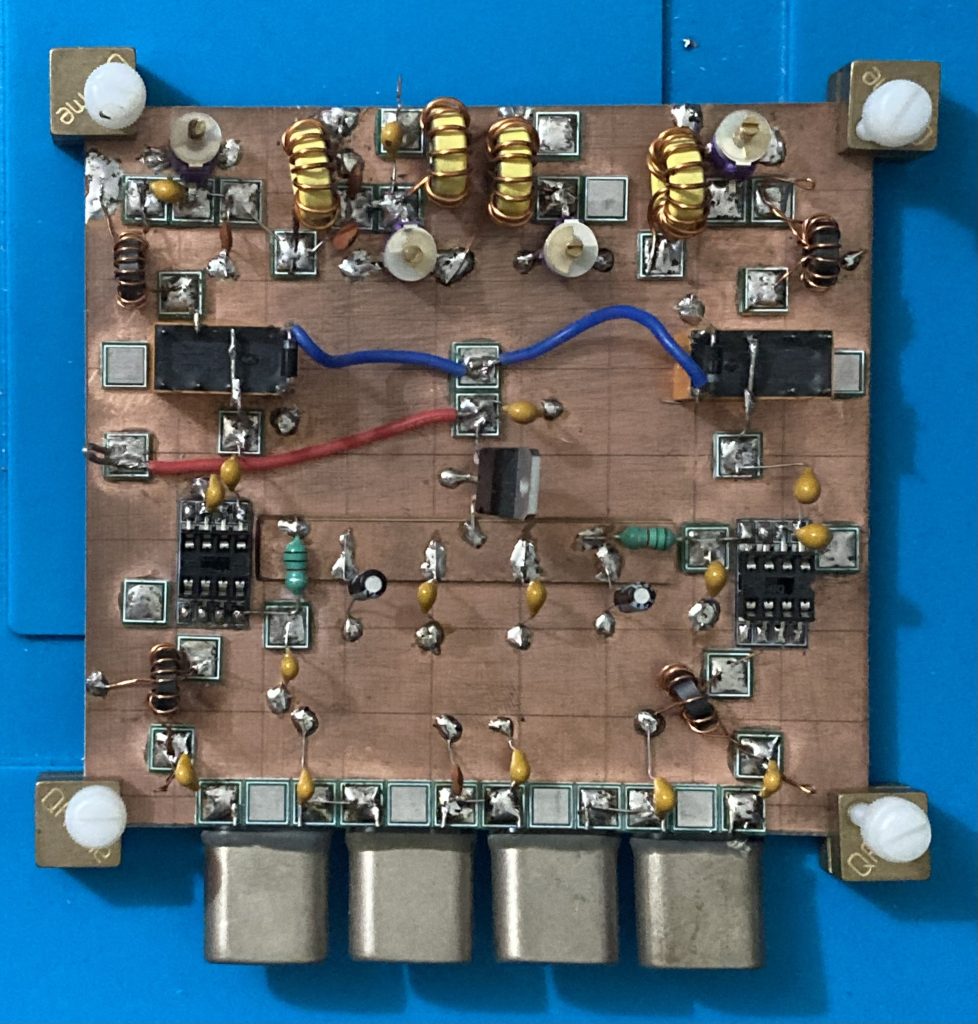
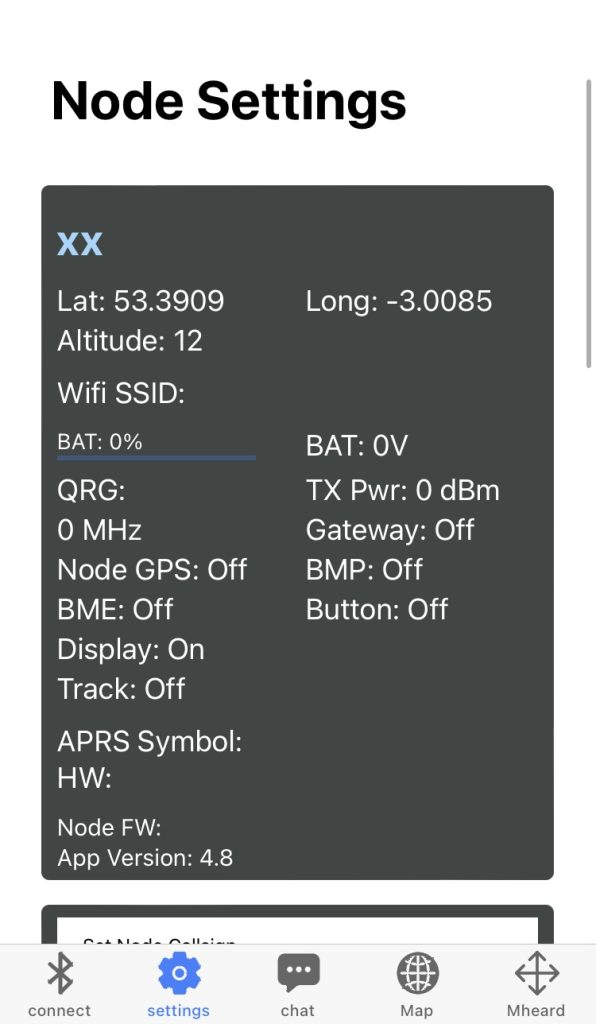
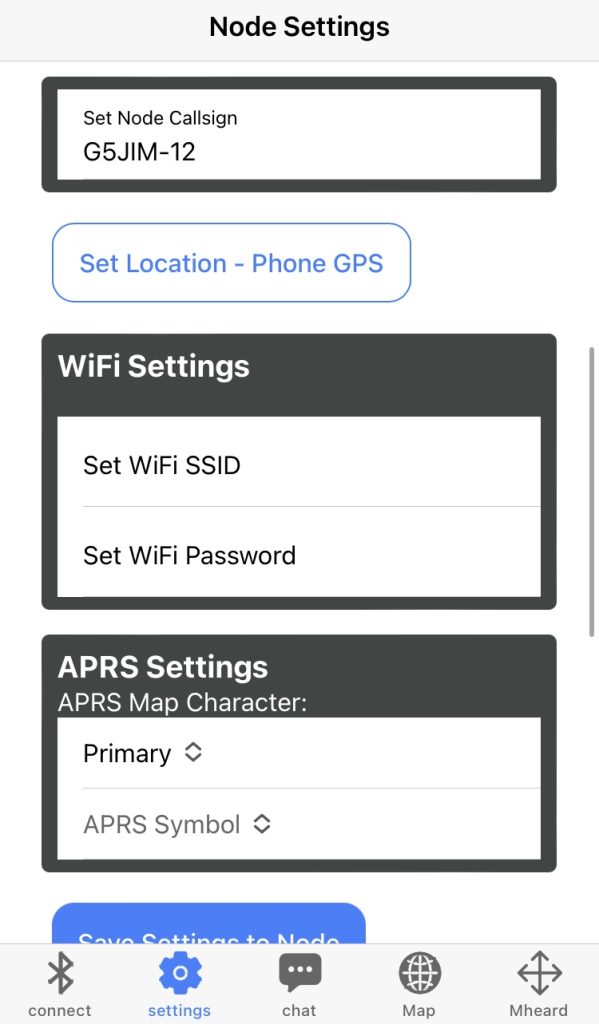
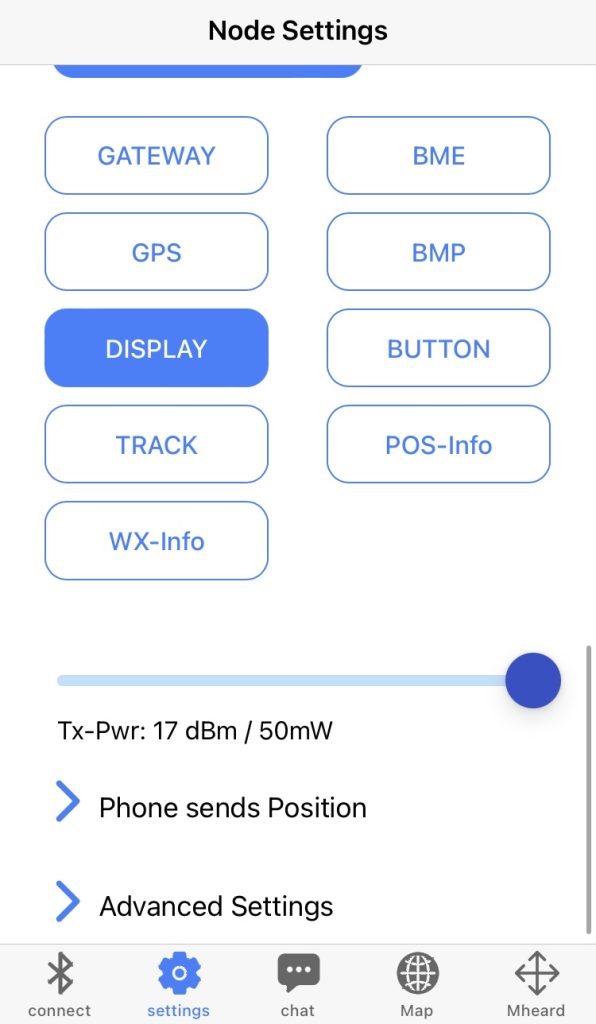
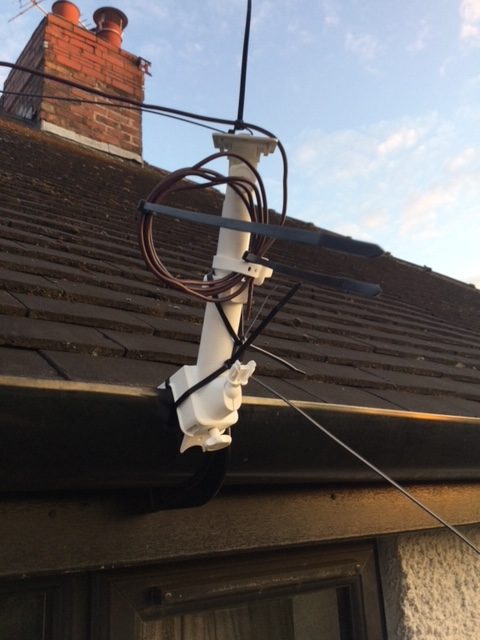
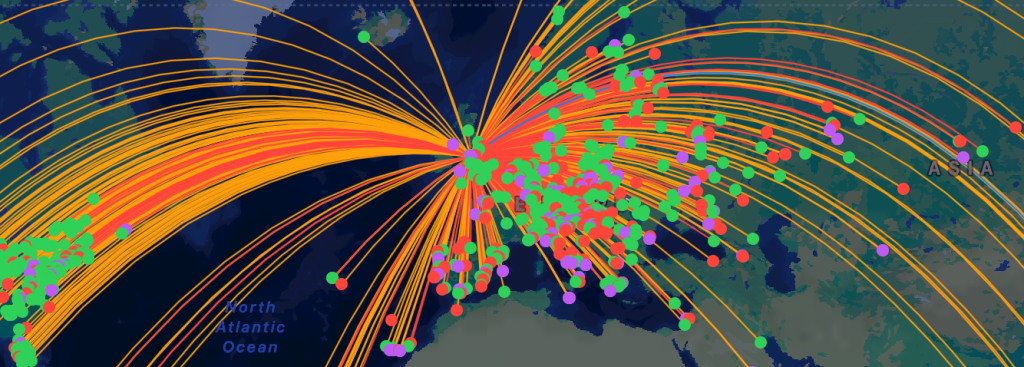
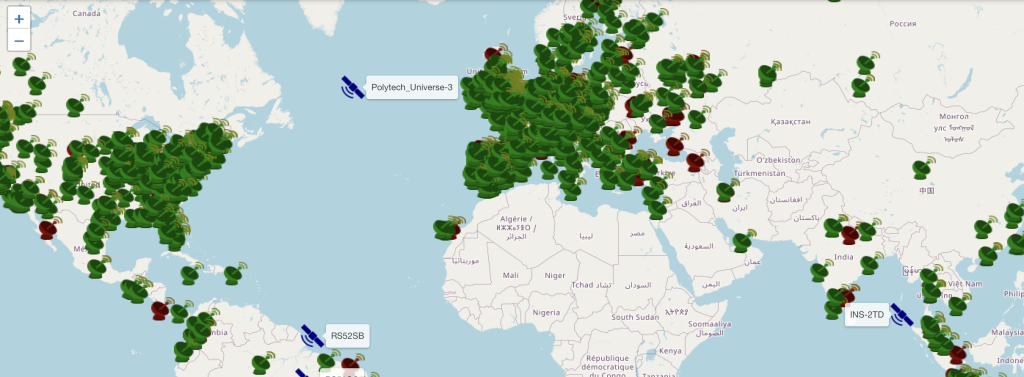
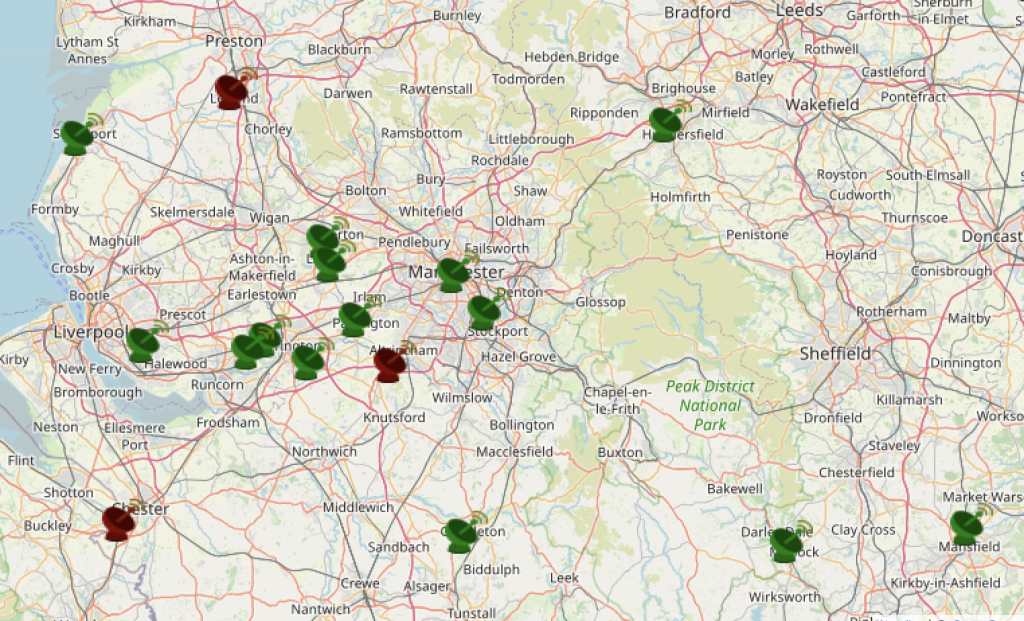
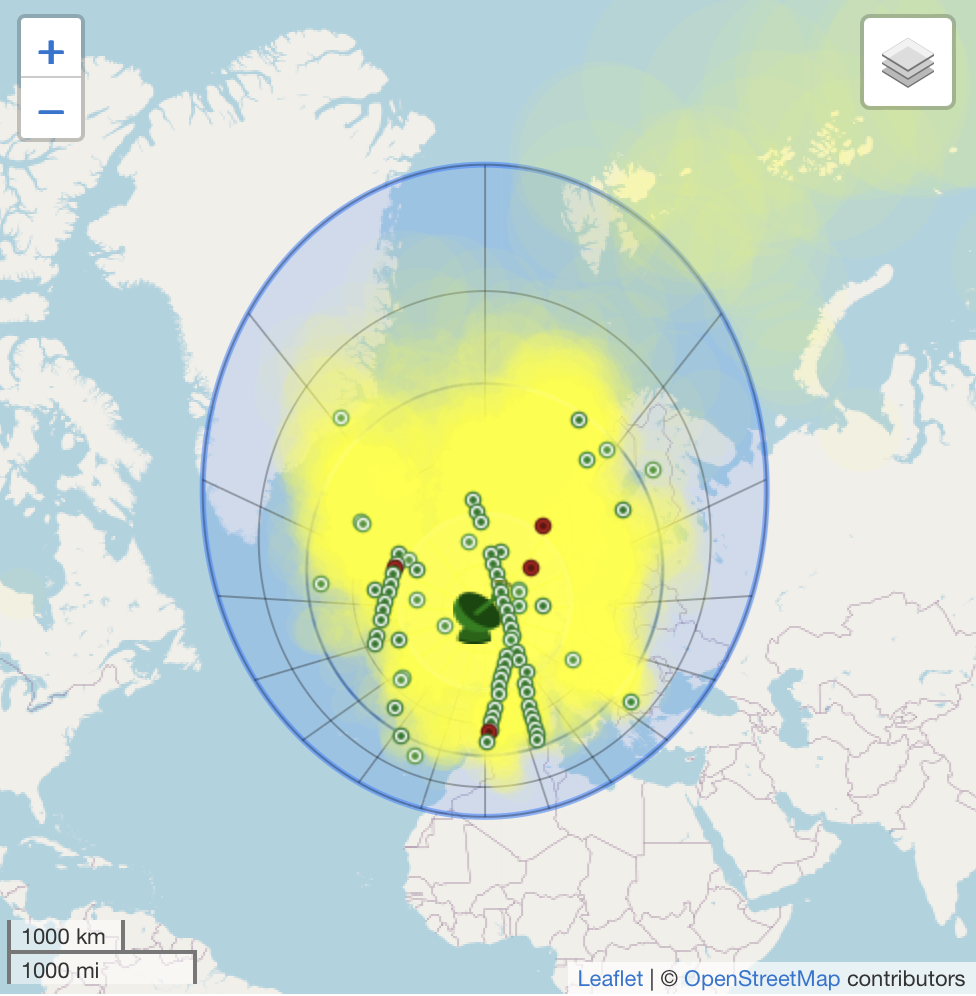
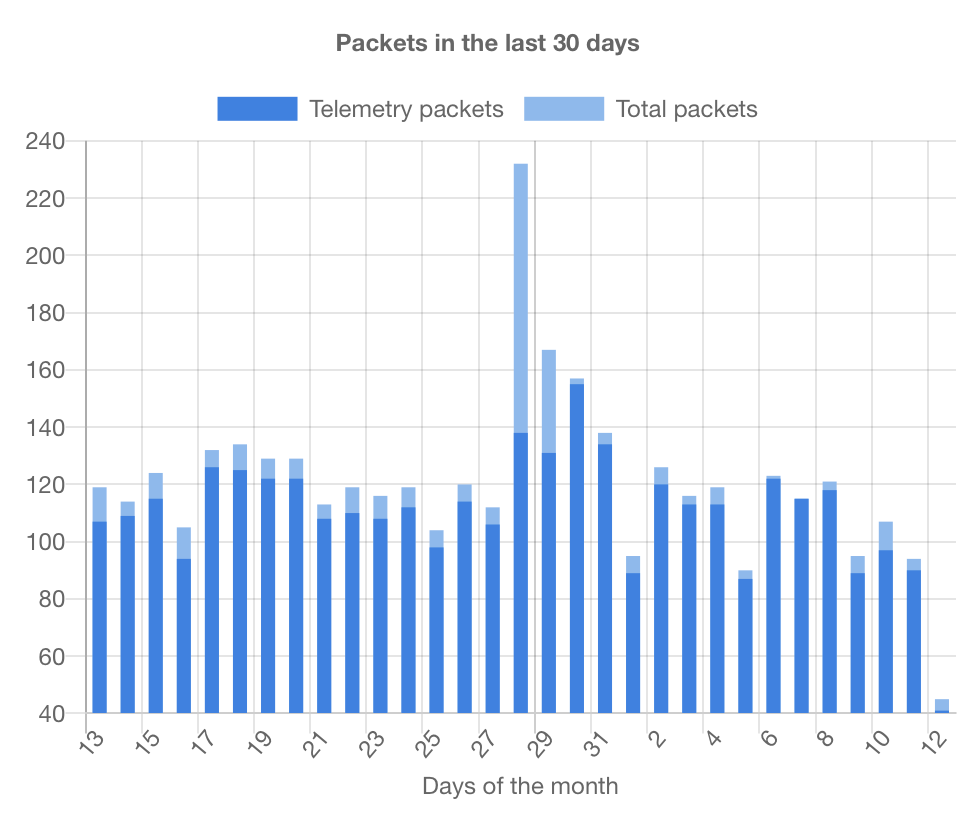
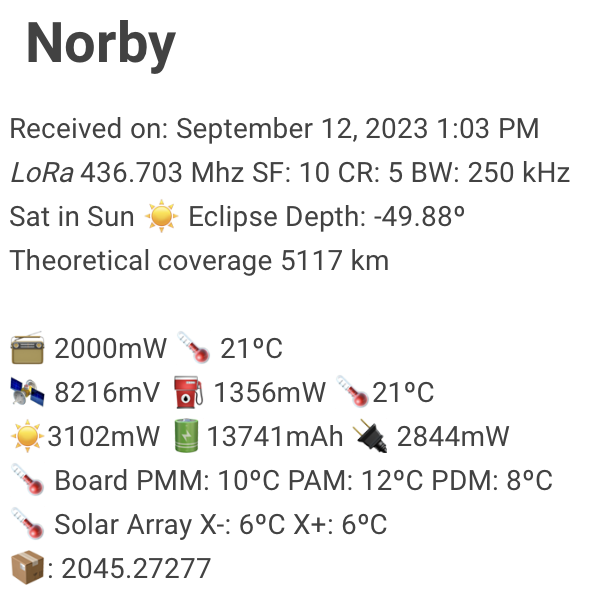
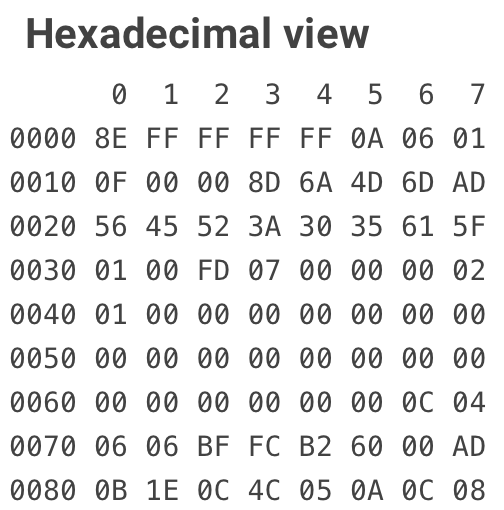
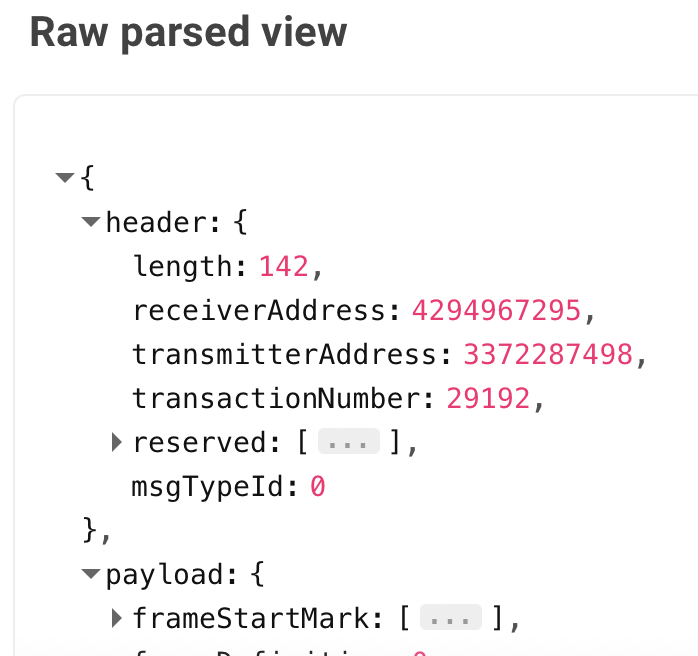
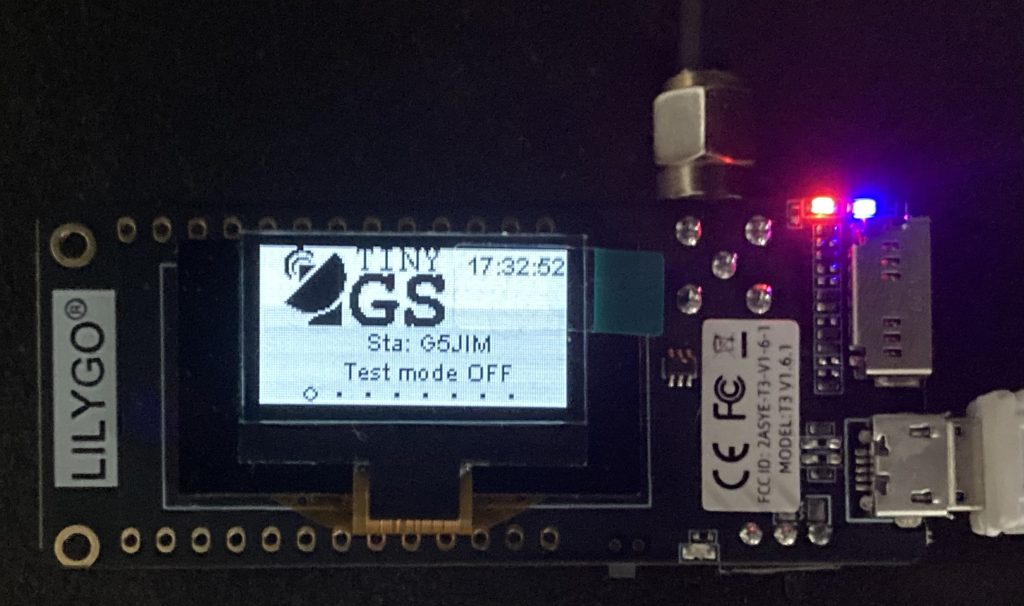
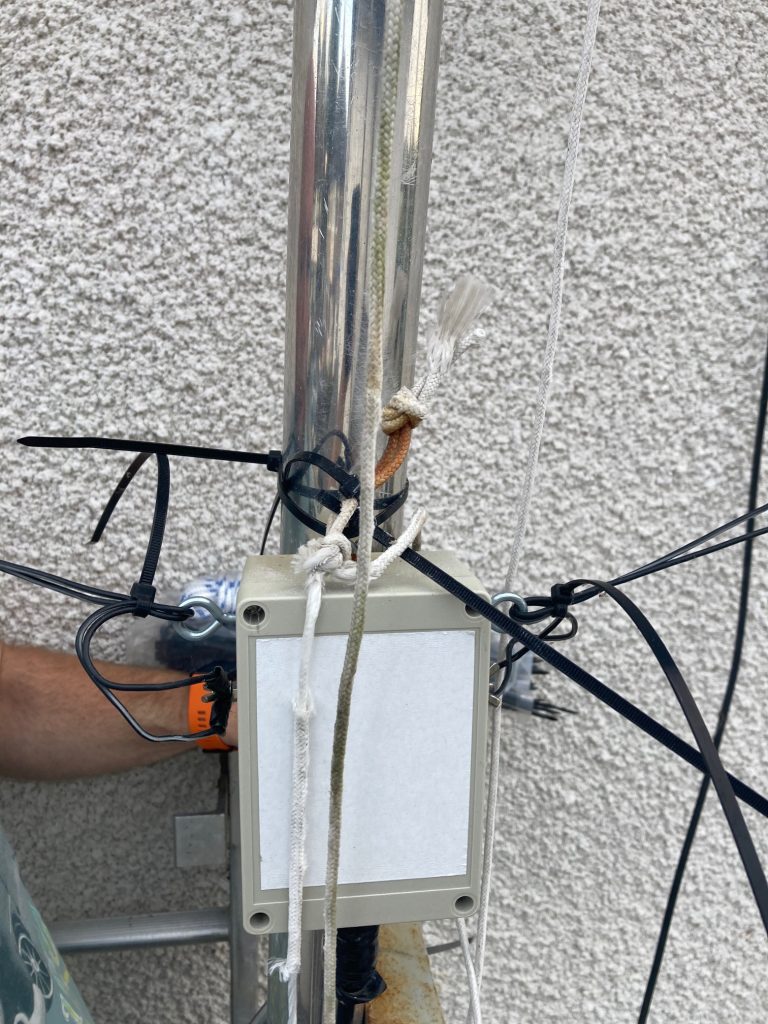
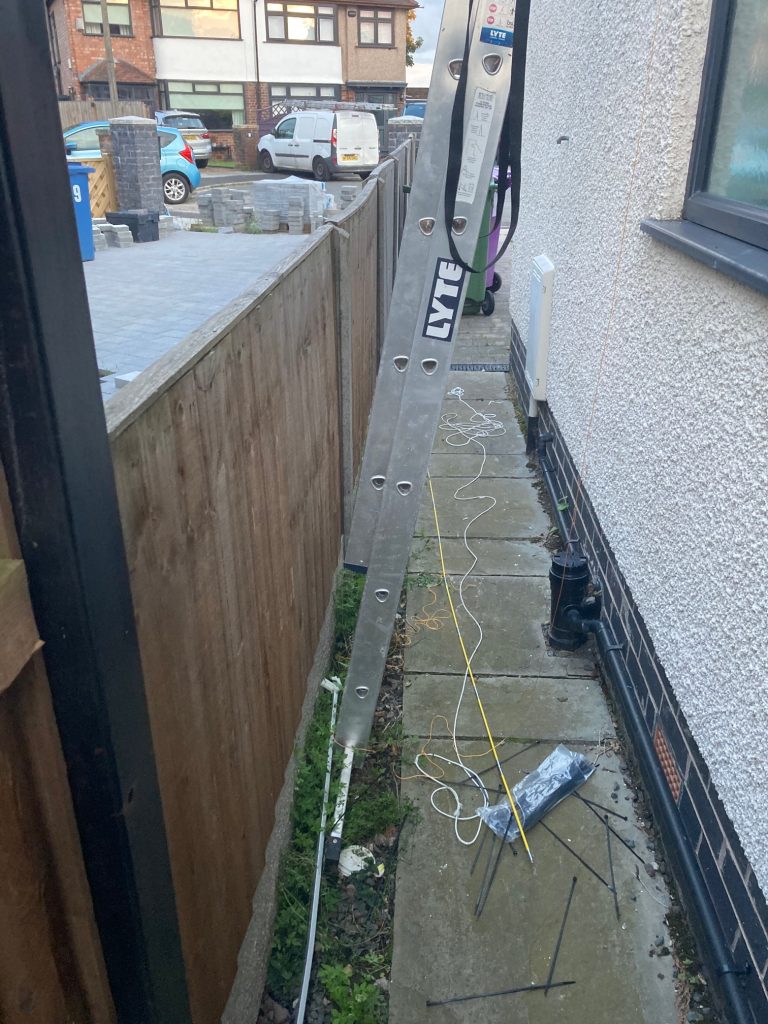
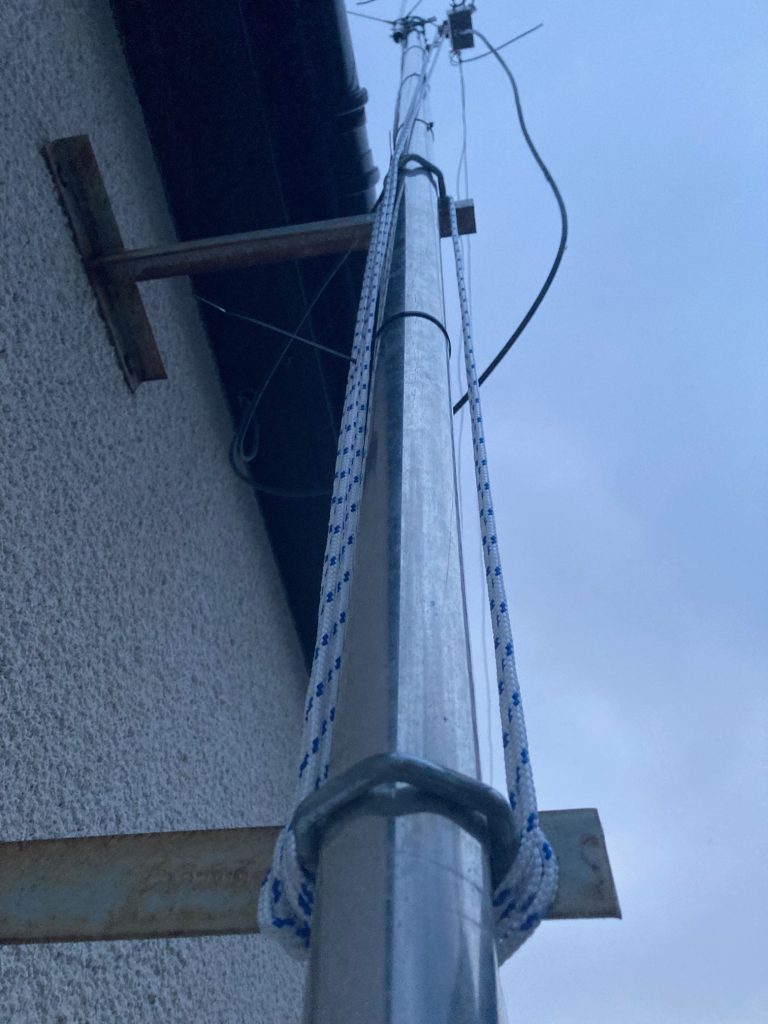
At WARC we once again set up our satellite station for QO100, however this year we decided to combine what we did the last couple of years with both TX and RX for narrow band and also video RX. In addition to the satellite station we also put up a live TinyGS node as well as one inside for people to look at a long with some information about TinyGS, Meshtastic and MeshCom.
It was interesting to note that we were not the only club actively working with TinyGS and the mesh systems, and one display had a 3D printer printing out cases for the LoRA modules. It was encouraging this year to see a little more of what other clubs were doing and the synergies between similar projects, I really hope to see more in future NARSA events.
In the past couple of years we’ve been in a room off the main corridor, but this year it was being used for an event so we were in a different room off the main hall, it was smaller but seemed to work well for us in terms of getting a few more visitors who missed us the last couple of years.
It’s always great meeting other amateurs with both similar and different interests and seeing how we can grow and further the hobby.