LoRa

MeshCom

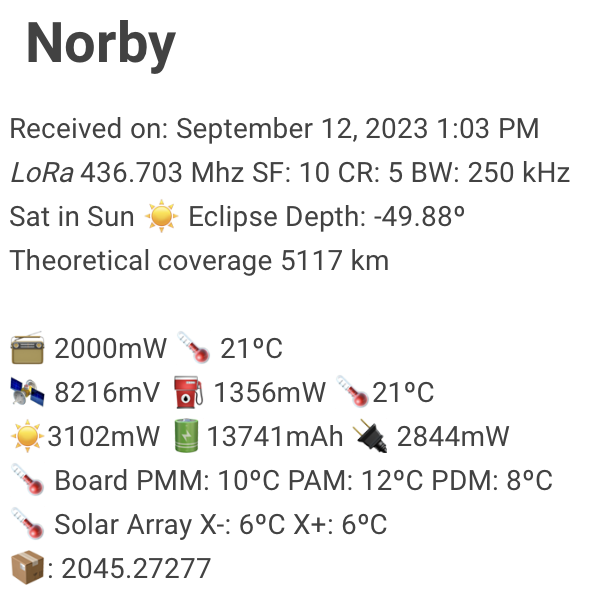
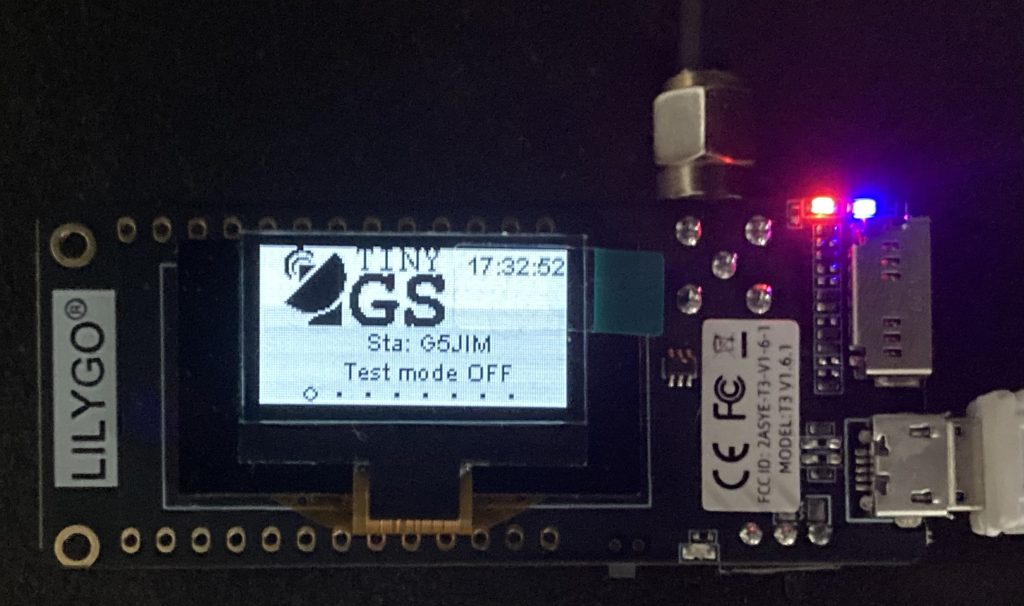
After the talk on using LoRa ESP32 for TinyGS Mike G4VSS was on the lookout for more LoRa projects to work on and at the Friedrichshafen Ham Radio Conference came across MeshCom. He became the first UK based station on the project followed by the G0WRS unit at the WARC clubhouse, G7MNP and G8KBB.

I decided to give it a go and it’s been a fairly simple but interesting project.

I used another LILYGO TTGO LoRa32 board and of course first of all I had to flash it, I used the ESP-Flasher (via a Windows VM) available from https://icssw.org/en/meshcom under the Instruction section and loaded the available firmware for my hardware.

Since originally flashing my board I have been pointed toward a simpler option, using the online “flasher” at https://oe1kfr.com/esptool, you just need Google Chrome or Microsoft Edge. The online tool does everything for you, you select your harware version and follow the prompts, no need to download the firmware, the online flasher also has the pre-releases available too.

Once flashed you can connect to the board directly via serial port using the terminal on Mac/Linux or PuTTY or similar on Windows, however the simpler option is to download the app for iPhone or Android from the above link (iPhone app is currently in Beta so you download the testflight app and click the testflight link given on the website).

The app is very simple, first of all you “Scan BLE Devices” and connect to your gatway, then there are just a few settings to be filled in:

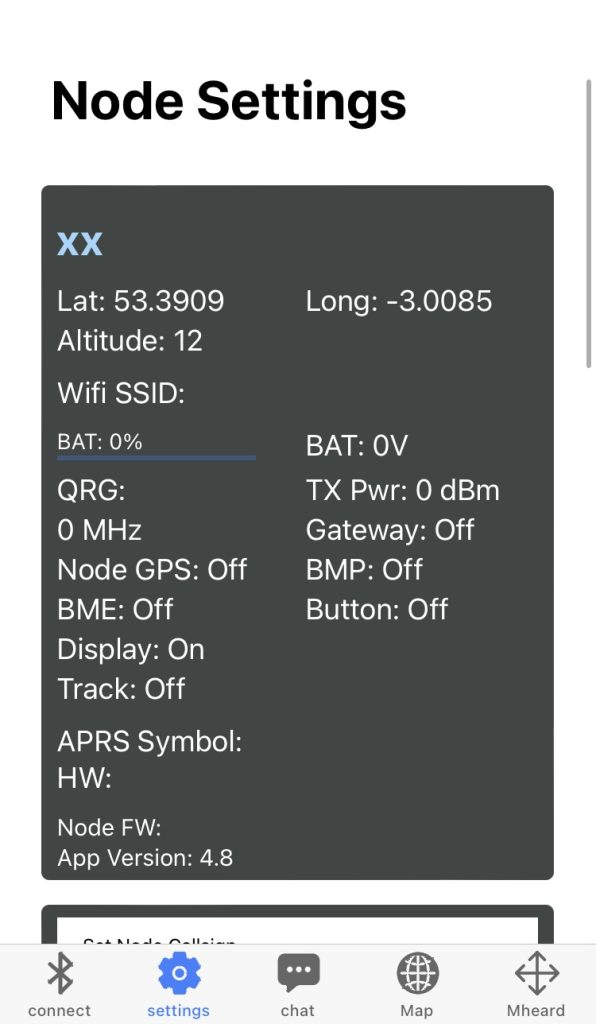
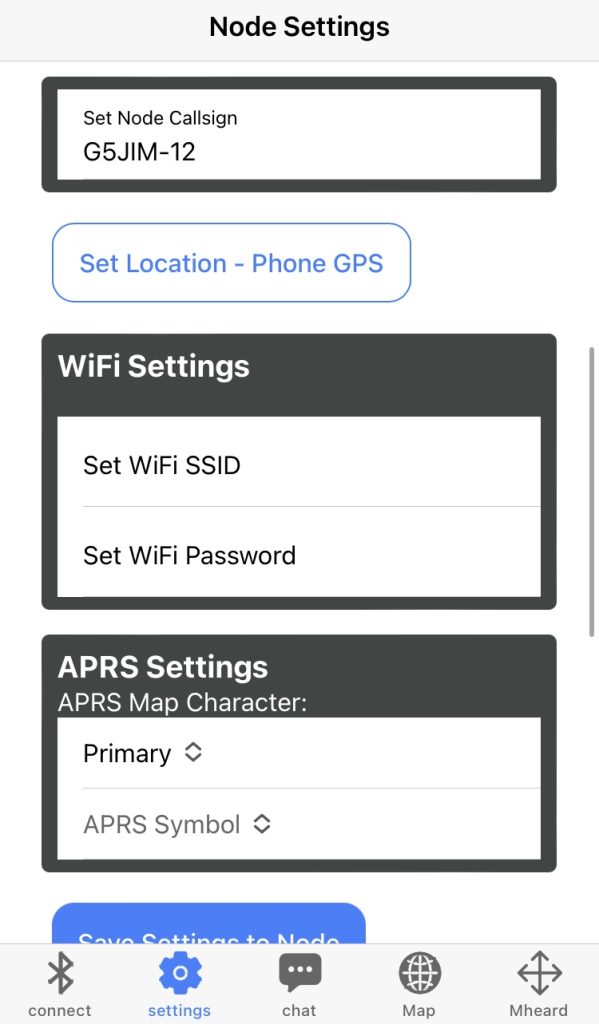
Callsign: Fill in your callsign plus an APRS SSID, this seems to be 12 for gateways (connected to the internet) and 1, 2, 3… for non gateway, so for my gateway G5JIM-12.

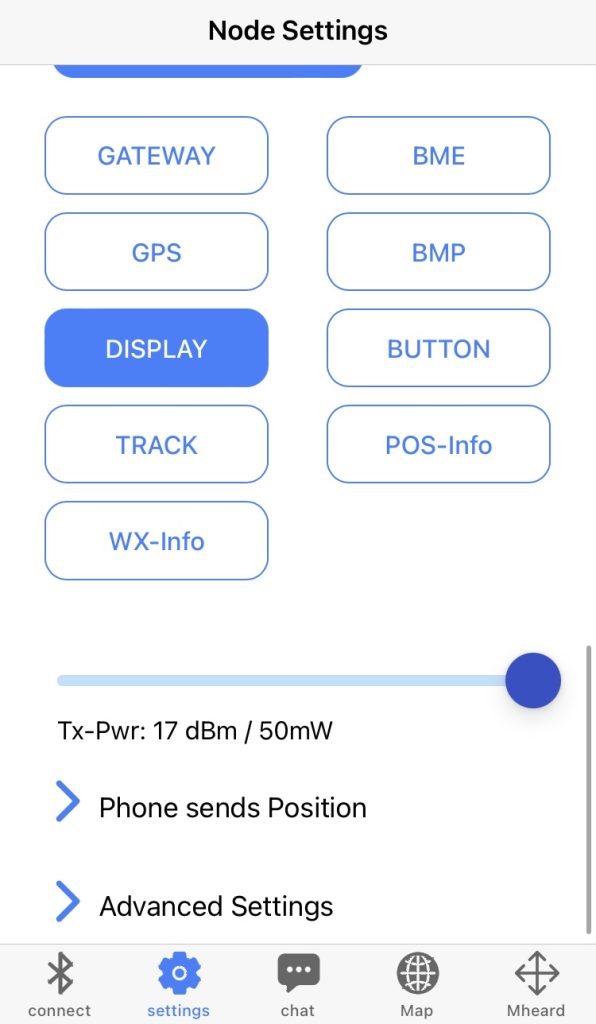
Set Location – Phone GPS: If your device doesn’t have GPS you can set the position with your phone, and you can se the regularity with which your phone updates the location at an interval of between 3-60 mins under “Phone sends Position”.

WiFi Settings: Required for GATEWAY use.

APRS Settings: Not required but fill in if you want to.

GATEWAY: Self explanitory, select the GATEWAY option for a gateway (and fill in the WiFi settings).

Tx-Pwr: You can choose your transmit power level.

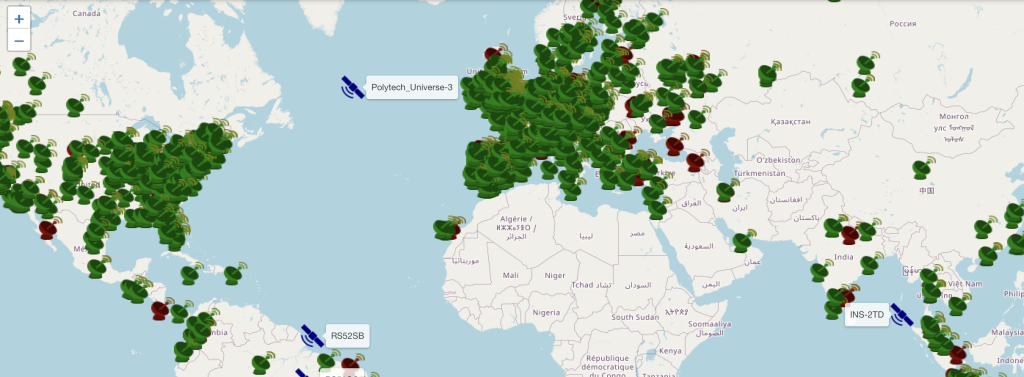
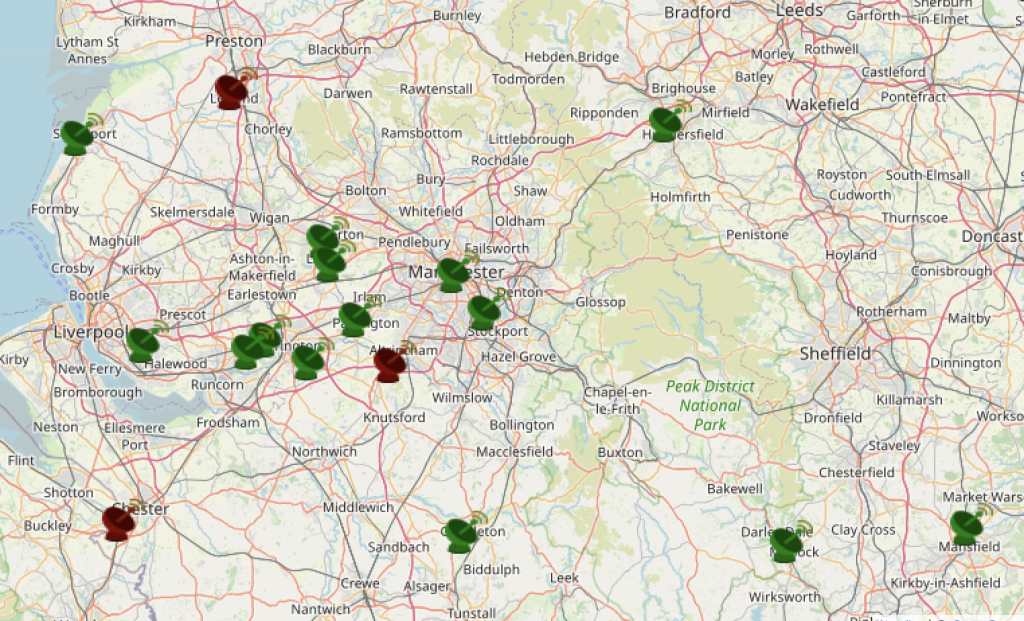
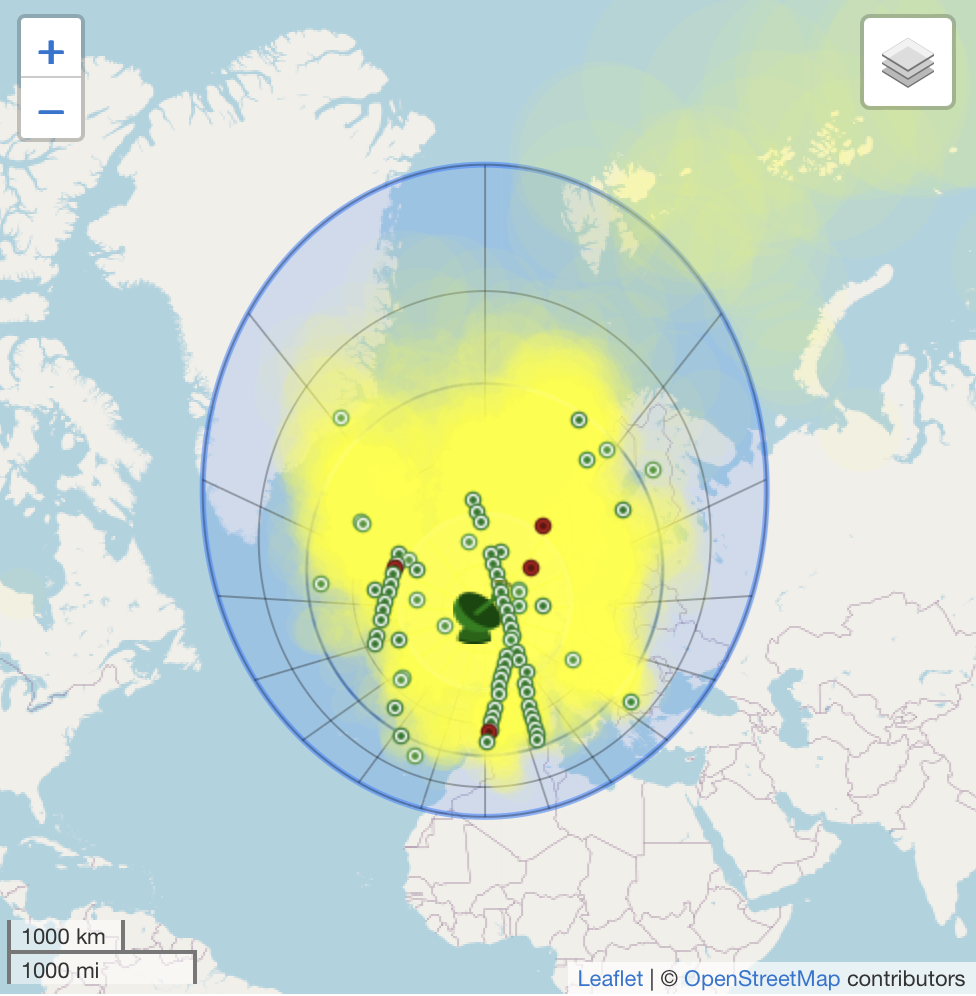
Once thats done just select “Save Settings to Node” and it will take you to the chat and you can start communicating via the text messages, checking the node map and seeing if you have spotted any other units.

There was a slight issue in that the firmware version I was using 4.24 where negative co-ordinates weren’t properly recognised so the position was incorrect on the map, I attempted to install the 4.26 version which has a fix to resolve this, however there was to be a memory issue for my version of the hardware which meant it didn’t work. The developer of the firmware Rainer OE1KFR and the whole community have been really helpful and within a couple of days a new firmware version was out – and that was despite Rainer having to prepare for an exam! I can’t emphasise enough how great the support has been.

TinyGS

Recently Mike G4VSS did a talk at Warrington Amateur Radio Club about using an ESP32 LoRa module with the TinyGS (Tiny Ground Station) project for receiving data from satellites. As a quick introduction the TinyGS website states “TinyGS is an open network of Ground Stations distributed around the world to receive and operate LoRa satellites, weather probes and other flying objects, using cheap and versatile modules.”

One of the big advantages of this project is that it is low cost and available for anyone to attempt, no Amateur Radio license required.

The website displays all stations and you can zoom in for more granularity.

The satellite data that you receive is available on the TinyGS website, both in aggregate form so you can see the locations and heat map of where you have received from (this can be customised to show different power levels, turn off the heat map etc) as well as how many packets have been received per day…

…and data received from individual satellites, both in raw and xml form as well as decoded where possible. This means that you can see the details of the state of the satellite, battery voltage, temperature, solar panel voltage and current.

Along with this you can see which other stations also received from that satellite.

As previously mentioned this is a low cost project, at it’s minimum all you need is the £25 LoRa board with the included mini antenna, placed by the window you would still receive some data. As an upgrade from that Mike’s station is a self contained waterproof unit created using plumbing fittings with a small 1/4 wave vertical and battery, again very cheap just requiring a bit of work to put together.

I decided to purchase one of the boards and set up a receiving station, as I have a 70cm/2m colinear antenna on my roof I decided to use that to make a start. The process of setting up the board was fairly simple, with just a couple of hiccups:

1. Ensure that the cable you use is a data cable not just a charging cable, not all mini USB cables are created equal!

2. There are a number of ways to flash the LoRa module. I originally wanted to do it directly on my Mac so I attempted using TinyGS_Uploader for Mac, but this didn’t work, so instead via a Windows VM I used TinyGS_Uploader for Windows. The recommended way seems to be to use PlatformIO, but it isn’t available for the IDE I usually use, rather than downloading an IDE simply to install the PlatformIO plugin I decided to just use the TinyGS_Uploader which worked fine. To find the TinyGS_Uploader (and there is one for Linux too) you can just go to the Wiki link on tinygs.org and scroll down to “Quick Start”.

3. The link to the telegram group where you can get the credentials for MQTT_USER and MQTT_PASS seemed to be wrong, thats just the tinyGS Community chat (which is also linked from the home page on tinygs.org), @tinygs_personal_bot is the one to use.

Some of these images were taken after the original post was written, hence the dates!