On the 23rd of April it was the 2023 NARSA rally.
This year marked a change in how the rally was being approached. Increasingly and particularly thanks to Covid (or at least so I understand) the larger traders have been staying away from rallies, not seeing it worth their while, so NARSA decided to focus less on big traders and more on clubs and what clubs have been doing.
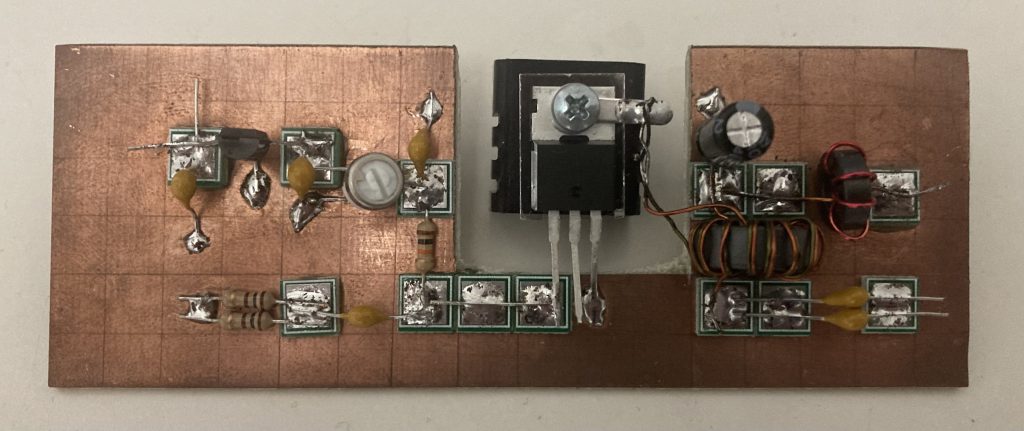
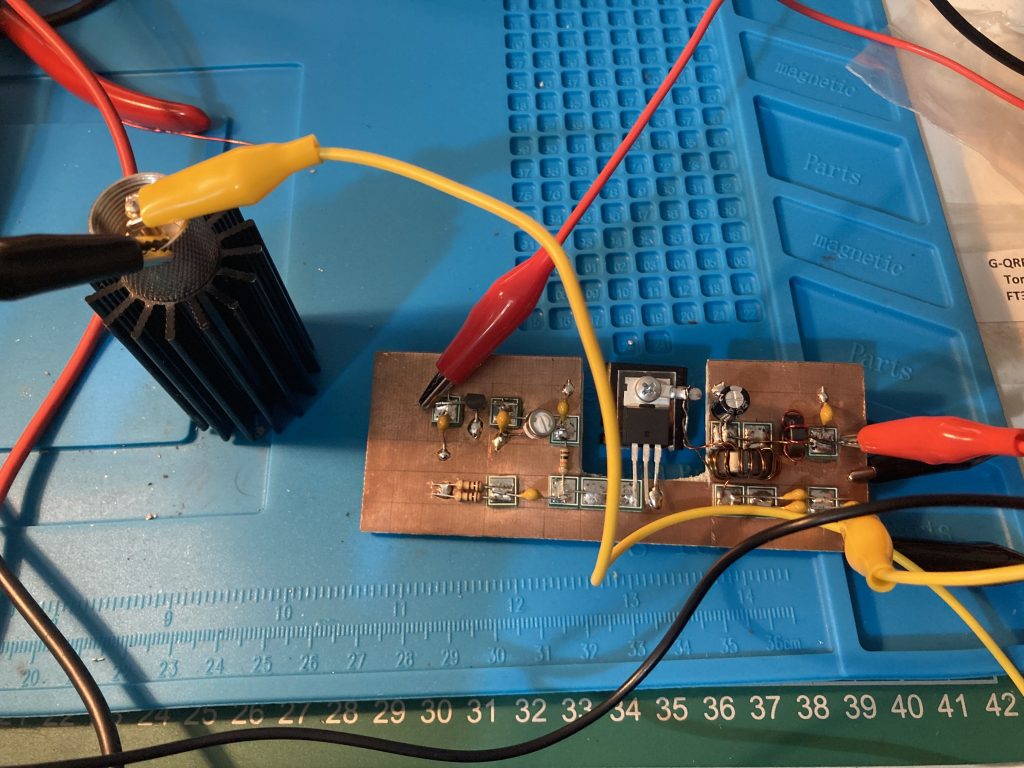
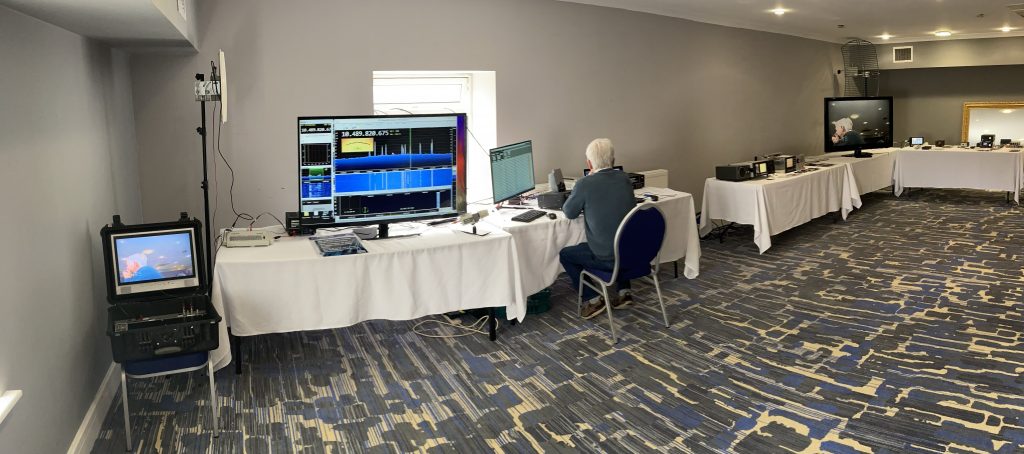
As a club we decided to try to build on what we’d exhibited last year. In 2022 alongside the usual selection of club projects on display we had a satellite ground station receiving video from QO-100. This year rather than just receiving we decided to put on a fully operating narrow band ground station which we operated throughout the day, in addition we had a camera on the station, the video from which we transmitted across the room via a 5GHz link and then streamed to the BATC streamer via a Portsdown device. Putting all this together was a big job, and I learned a lot through assisting.
It was a very enjoyable day and I thought the mix of club stands and smaller traders was great, in particular there was a fantastic selection of components, I’ll definitely put some more thought into what I need for the shack before I go next time.
Hopefully the club focused aspect will continue to grow and it’ll continue to stand as a real radio amateurs rally furthering the hobby!