Projects

RF Amp Transformer Rewound

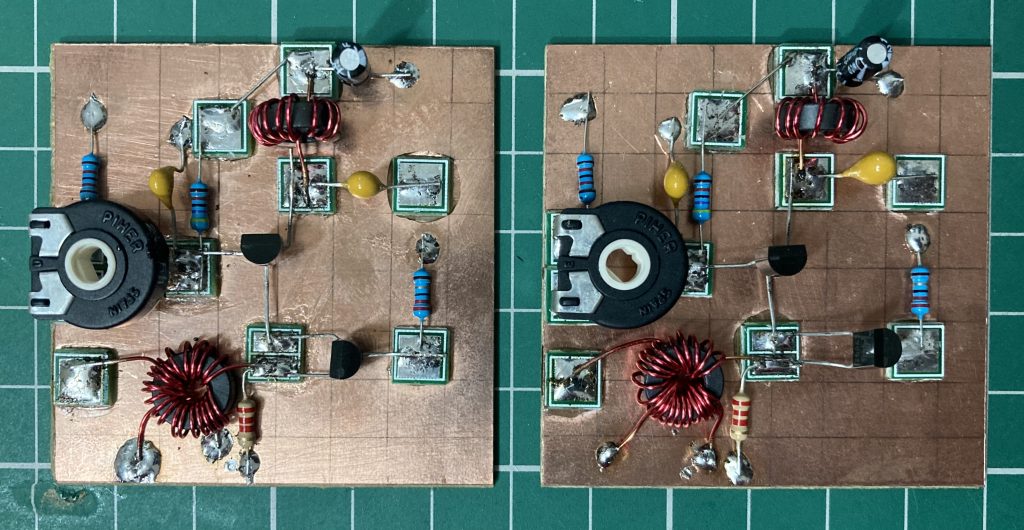
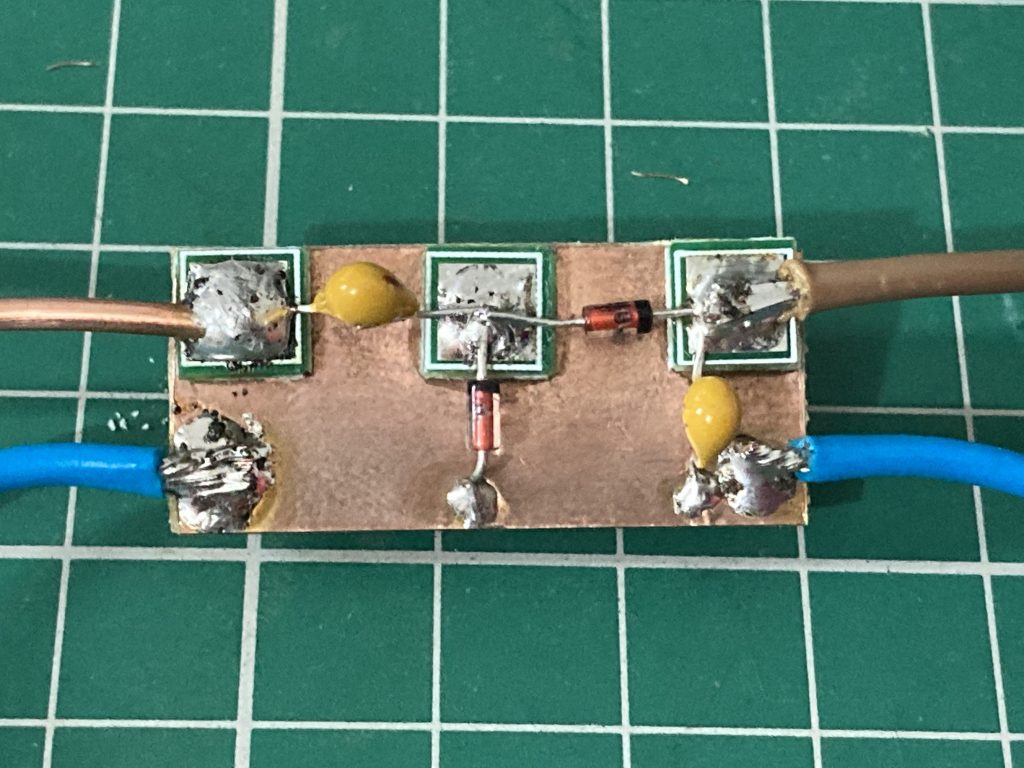
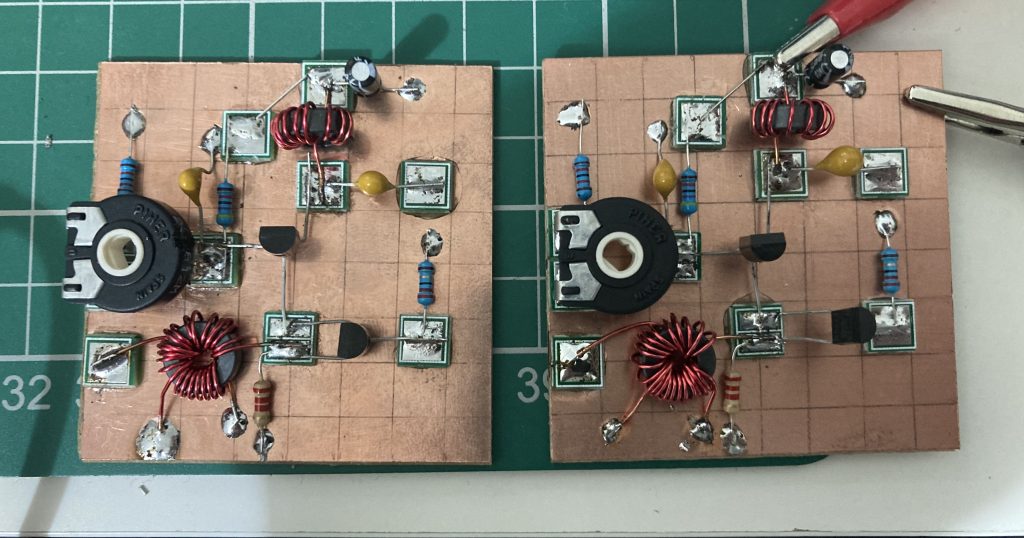
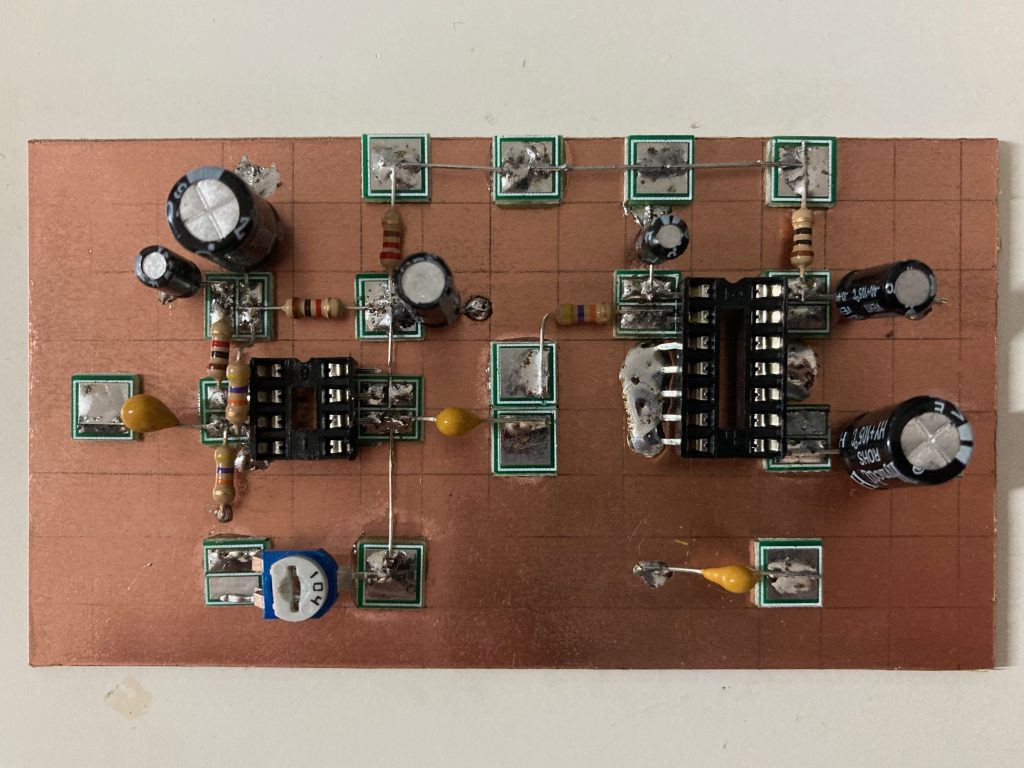
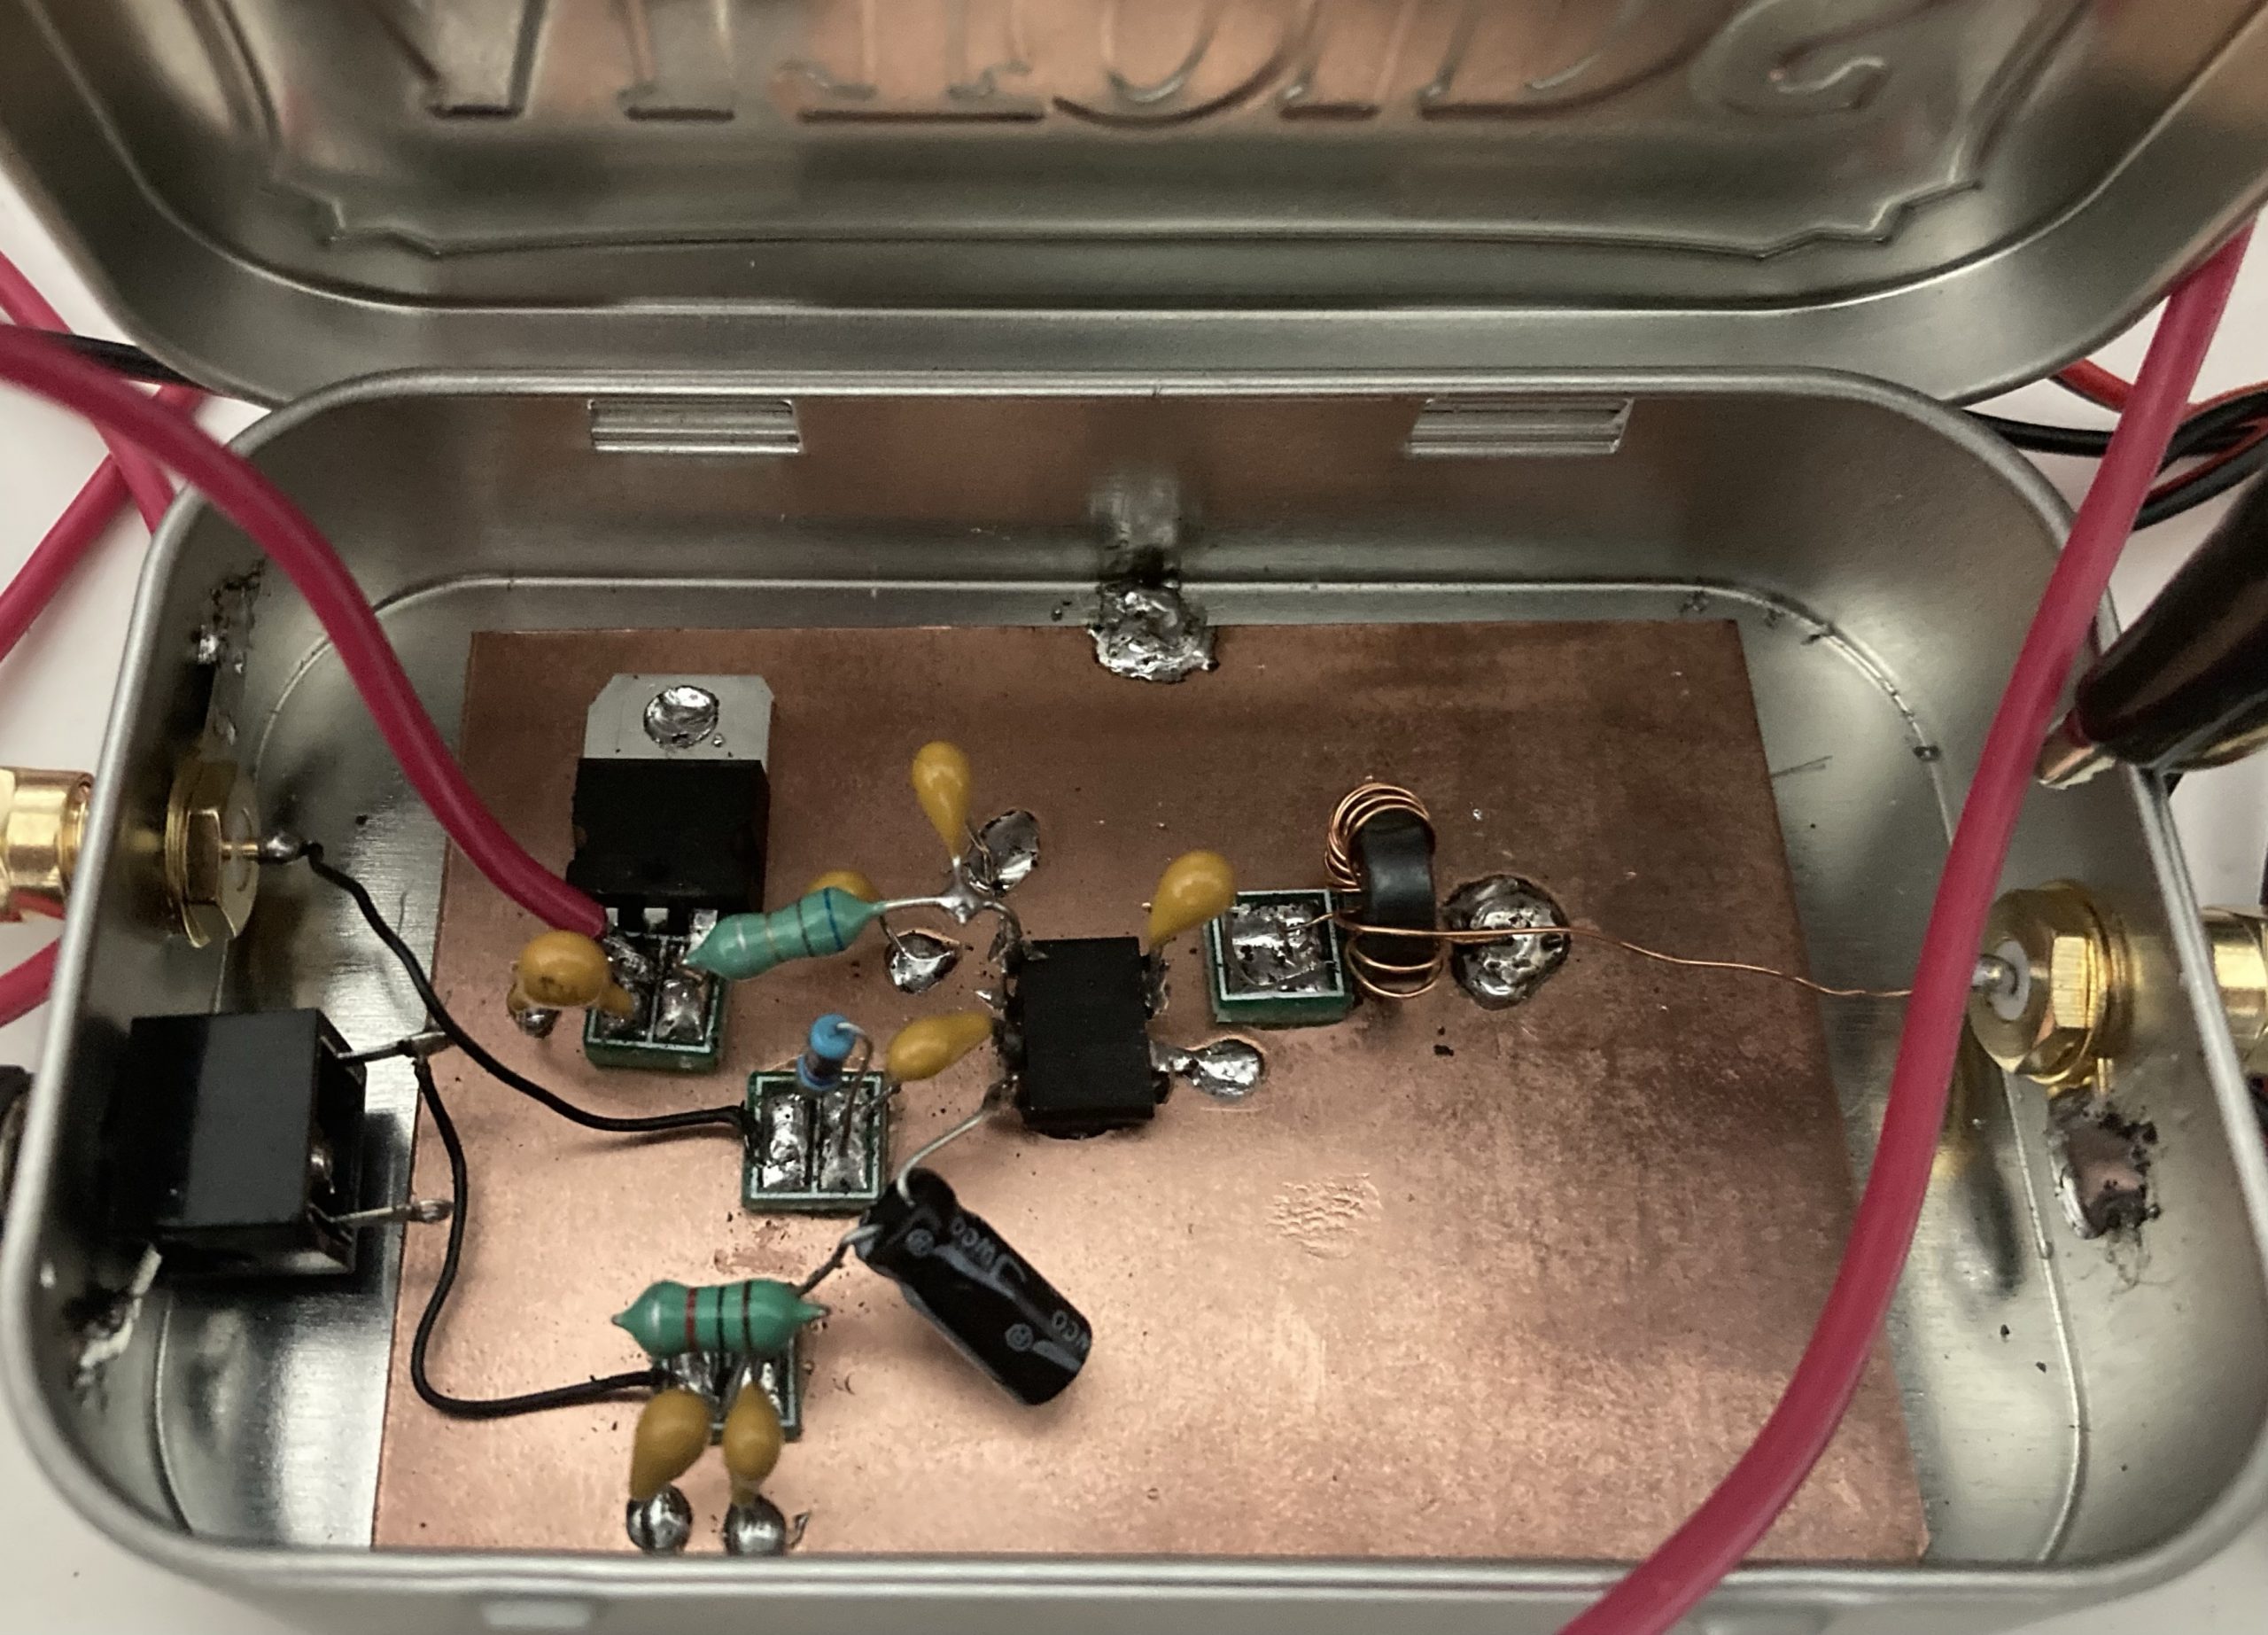
This afternoon I had a few minutes spare so I rewound the incorrectly wound RF amp transformer, it’s wound in the opposite direction to the other one as for some reason that’s the direction I’d wound the 20 wind part and I thought I’d rewind the 3 winds rather than the 20 winds!

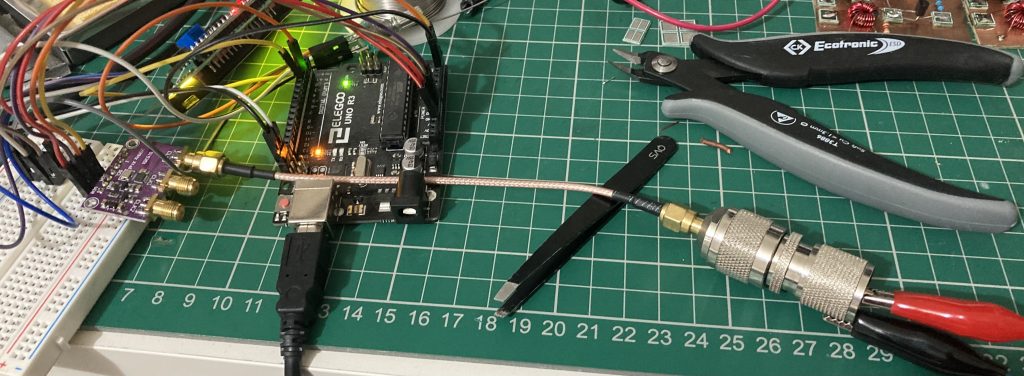
I still need to test the gain on these amps and tweak the bias, not got round to that yet.

RF Probe

As part of the QRP build group Steve G0FUW has provided build documents for a couple of pieces of test equipment. I started building this a few weeks ago but needed to get some bits – croc clips, banana plugs and finally some stiff wire. Getting the Christmas decorations last weekend I spotted some nice stiff copper wire and so finally finished off the build. It is simple and uses a multimeter for readings, but does the job.

RF Amps

I’ve finally got going with second part of the Sudden SSB N6QW Transceiver, I had a couple of false starts when I was missing components, not helped by the fact that I didn’t realise that I needed two of these to begin with…should have read the build document more thoroughly!

Having completed both amps the voltages all seem to be vaguely reasonable, however I have made a mistake. I incorrectly wound the transformers on the left they two coils are wound in opposite direction so I’ll have to sort that, but another day.

LM380/NE5534 Audio Amplifier Complete(ish)

Having put the finishing touches to the audio amp I’ve now powered it up and given it the finger on the input treatment, I get buzzing and can hear a slight increase in noise with volume so it seems to be working correctly.

I need to actually try putting some audio through it, but for now it’s complete and can await the other stages.

LM380 Audio Amplifier

LM380/NE5534 Audio Amplifier

Earlier this week I made a start on the audio amplifier for the Sudden SSB N6QW Transceiver I’m building with the scratch QRP build group, yes another audio amp! I decided on a Manhattan approach using “Manhattan Style Solder Pads” from Kanga Products which are great and allow for a much neater approach than ugly (obviously) and for me a much easier construction style than vero board, which I grew to hate in putting together the audio amp that I built for M0NTV direct conversion receiver which I’m still debugging. One thing I have noticed with Manhattan is that you really do need to get the placement of the pad right first time as the glue sets pretty much instantly, no time for hesitation!

A great thing about the pads from Kanga Products is that they are double sided, one side is a single pad and the other side is split into a double pad, I have found this very useful for various situations where you want to fit a couple of pads close together. The double pads can been seen on my board used for the IC sockets and just above the IC on the left where I have used a double rather than two singles for neatness and to keep the pads compact.

I just need to add a 2r7 on the bottom right, connect up the volume pot, connect up the speaker and add a connection wire, then pop in the ICs and it should be ready to power up!

Scratch Build QRP Project

A little while ago Steve Hartley G0FUW posted to the GQRP reflector that he was thinking of running a small building group for people with zero or very little scratch building experience looking to build a 17m N6QW Sudden SSB transceiver in modules. I expressed my interest along with quite a few others and the group got going with Steve running it along with Nick G8INE.

Steve and Nick compared previous notes and put together a shopping list of items required for the project as well as providing a build techniques guide going through various construction techniques such as manhattan, veroboard, printed pcb…

I’ve got together the various components and have made a start on the audio amplifier, a post on that to follow…

Testing my Direct Conversion Receiver

After completing all the parts to my receiver I took it to the club this week for some more help testing. I knew that the receiver worked when I injected a signal from my NanoVNA, but testing in the real world didn’t yield any results. The club has a signal generator which I used with much assistance to test the product detector.

It turns out that although the product detector works it has horrendous sensitivity, of the level that would require something like a 1KW station across the street to ‘hear’ anything, so more work ahead to diagnose that fault.

In addition to this something went pop in my audio amp yet again. The amp was working, I turned to focus on the product detector then I heard a spark, saw some smoke and the chip was very hot. There is definitely some kind of fault in that audio amp, I think as it’s has so much desoldering, resoldering and adjustment there is probably an intermittent short, or something along those lines…more work to diagnose this fault too.

More Audio Amp “Fun”

After chatting through the noise issues with my audio amp with a club member I’ve made a couple of changes, firstly I’ve replaced the AF input cable with a jack socket (and using a shielded jack to jack cable for the input audio) and secondly I’ve grounded the cases of the potentiometers.

After adding the audio in socket I was having issues, the noise was much reduced and I was getting output when playing audio through my laptop but I wasn’t hearing anything when testing the output of the product detector, eventually I realised that my issues and confusion was because I was using a stereo cable and stereo jack socket in the audio amp but a mono jack socket in the product detector. For the audio amp of the laptop out it was fine, the ring output from the laptop socket went through the stereo TRS cable to the ring of the socket in the audio amp and then out mono through the (correctly) wired AF out socket. In the case of the product detector the audio went through the tip which was connected at the audio amp end and the ring was grounded, so no sound unless I pulled it out a little, once I rewired it the issue resolved.

For the grounding of the potentiometers I connected the three together using some old desoldering braid, perhaps a bit odd and used a lot of solder but pretty effective, I then connected the end one to the ground on the voltage regulator. This all worked fine, but then when trying to track down some remaining noise I unplugged the AF in cable and it went silent, I then replugged it and the same and no sound… after a bit of checking over the board I replaced the LM386 chip and it worked, so once again I’ve somehow fried a LM386!

Regarding the remaining noise I’ve realised that it is only present when my KSGER T12 is switched on, so I’m guessing that the noise is from the switched mode power supply and is coming in via the power in on the amp, so I’ll need to do some decoupling there, to be continued…!

Product Detector

The final part of the M0NTV ‘Building with Blocks’ talk direct conversion receiver. I’ve built it in a different order from the ‘building backwards’ order suggested, partly based on what I had available. I’m waiting for some DC plugs and sockets I’ve ordered to complete it, but I’ve attempted powering it up connecting power with croc clips and not managed to receive anything. I don’t have an ideal 80m antenna here, but I’d expect to hear something, particularly on the FT8 frequencies. The audio amp is very noisy and receiving signals on its own so I’ll need to sort that and then try again, watch this space…