Sudden SSB N6QW Transceiver

RF Amp Transformer Rewound

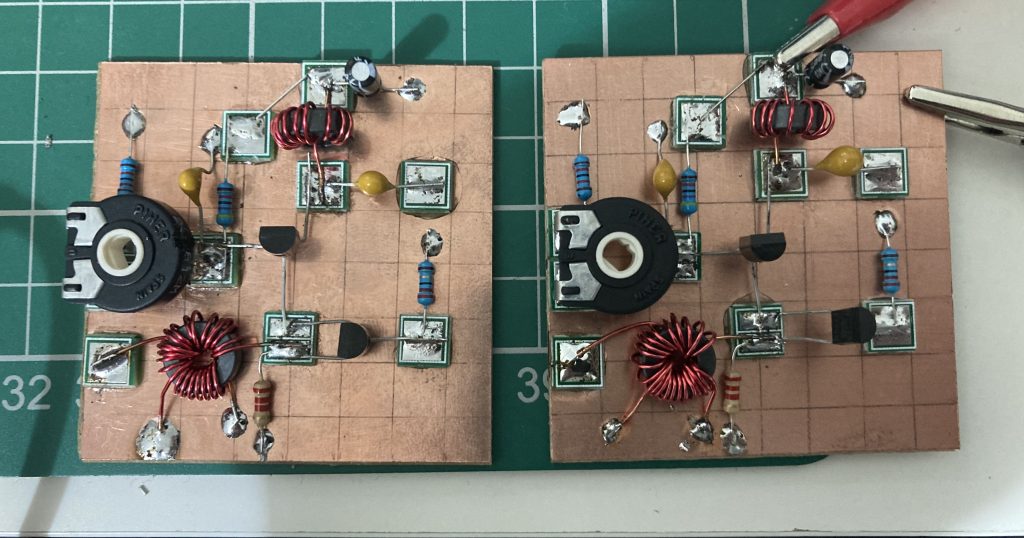
This afternoon I had a few minutes spare so I rewound the incorrectly wound RF amp transformer, it’s wound in the opposite direction to the other one as for some reason that’s the direction I’d wound the 20 wind part and I thought I’d rewind the 3 winds rather than the 20 winds!

I still need to test the gain on these amps and tweak the bias, not got round to that yet.
RF Amps

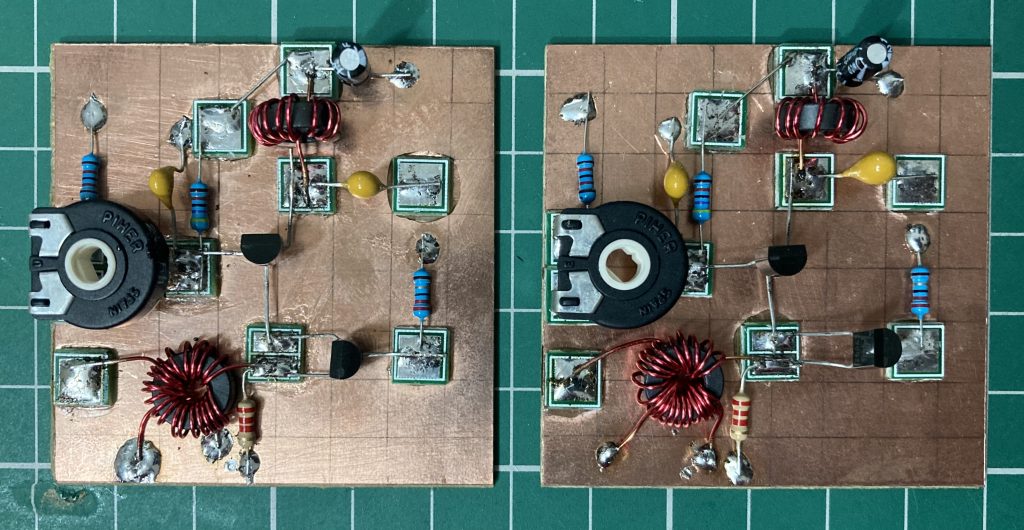
I’ve finally got going with second part of the Sudden SSB N6QW Transceiver, I had a couple of false starts when I was missing components, not helped by the fact that I didn’t realise that I needed two of these to begin with…should have read the build document more thoroughly!

Having completed both amps the voltages all seem to be vaguely reasonable, however I have made a mistake. I incorrectly wound the transformers on the left they two coils are wound in opposite direction so I’ll have to sort that, but another day.

LM380/NE5534 Audio Amplifier Complete(ish)

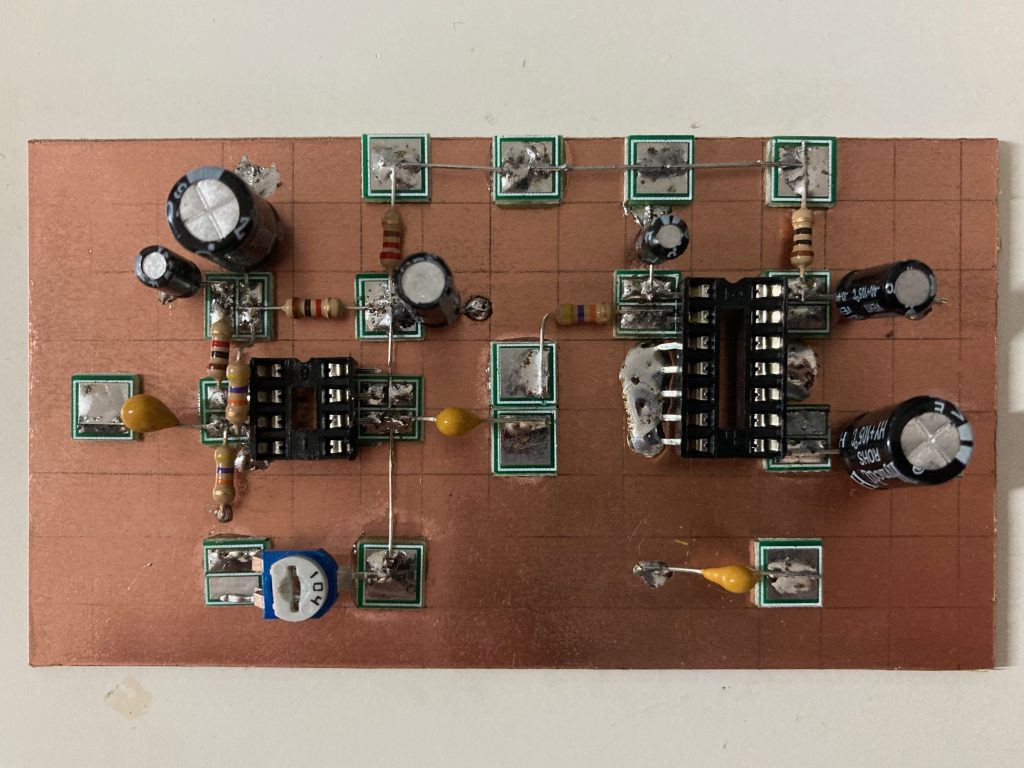
Having put the finishing touches to the audio amp I’ve now powered it up and given it the finger on the input treatment, I get buzzing and can hear a slight increase in noise with volume so it seems to be working correctly.

I need to actually try putting some audio through it, but for now it’s complete and can await the other stages.

LM380 Audio Amplifier

LM380/NE5534 Audio Amplifier

Earlier this week I made a start on the audio amplifier for the Sudden SSB N6QW Transceiver I’m building with the scratch QRP build group, yes another audio amp! I decided on a Manhattan approach using “Manhattan Style Solder Pads” from Kanga Products which are great and allow for a much neater approach than ugly (obviously) and for me a much easier construction style than vero board, which I grew to hate in putting together the audio amp that I built for M0NTV direct conversion receiver which I’m still debugging. One thing I have noticed with Manhattan is that you really do need to get the placement of the pad right first time as the glue sets pretty much instantly, no time for hesitation!

A great thing about the pads from Kanga Products is that they are double sided, one side is a single pad and the other side is split into a double pad, I have found this very useful for various situations where you want to fit a couple of pads close together. The double pads can been seen on my board used for the IC sockets and just above the IC on the left where I have used a double rather than two singles for neatness and to keep the pads compact.

I just need to add a 2r7 on the bottom right, connect up the volume pot, connect up the speaker and add a connection wire, then pop in the ICs and it should be ready to power up!